
Efficiently designing metal perimeter edges, roofing panels
By Ben Kweton, Vice President, Sheet Metal Supply
Eventually, Mother Nature will test all components of any roofing system. Rain, snow, hail, wind and sunshine gang up or take turns making sure the system you installed will hold up. All must be considered during the design and installation process.
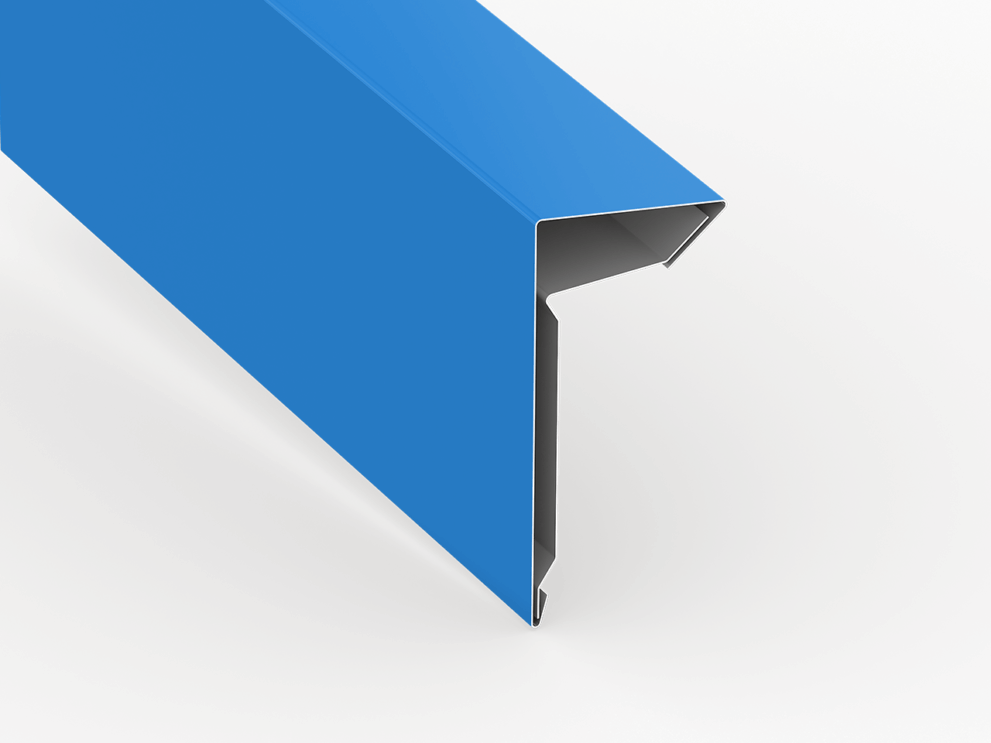
For reasons we’ve all experienced, wind is most often given the most attention during the construction of any building, including the roofing system. The section of the roofing system most vulnerable to wind is certainly the perimeter. Designing and installing an ES-1 Rated Roof Edge System is essential … just be careful not to waste material and money by using over-engineered system.
ES-1 provides a calculation for determining wind uplift pressures on perimeter roof edge terminations. ES-1 is a pass/fail test, administered by the American National Standards Institute (ANSI) that challenges the integrity of metals under the simulated stress of high winds and storms. The standard came about to help achieve consistency in edge metal quality after Hurricane Hugo in 1989.
Paying for over-engineered and over-marketed perimeter systems could cost you jobs if competitors are bidding lower prices. This is in no way to suggest you take shortcuts or design and install a roof perimeter system that doesn’t meet the ES-1 Standard. Many systems exist that test as well or better than the more expensive options, where you end up paying for extruded aluminum cleats that aren’t necessary. A well thought out and tested system can oftentimes be easier to install, and may even be delivered faster with more color and material options.
Material Considerations
Metal quality, metal cost and metal value should figure into your design and installation of a roofing system. Zinc and copper can be expensive options on the front end, but may provide better value over the life cycle of the building. Properly installed, both have been known to last more than 100 years. In certain applications, the cost of using zinc or copper may be reduced by using a thinner coil. Keep in mind, the thinner the metal, the better the chance for oil canning.
If the cost of zinc and copper is still too high for a project, there are capable options available, including one of those “premium alloy choices” or painted aluminum, steel, Galvalume or galvanized. These materials can be expected to last more than 40 years if properly installed.
Size Considerations
Although coil can be custom slit to suit the needs of a particular project, the most efficient option is to choose from the standard “master coils” available and form the panel accordingly. Adhering to those constraints is a way to maximize your value. Master coil sizes are XX, XX and XX.
For example, if you’re wanting a 1-1/2-inch snap lock panel and designing for 16-inch widths, you’re going to need a XX-inch coil, which requires slitting and creates waste. If you go with panels 15-1/2 inches wide, you can use a standard XX-inch coil, save money and eliminate waste.
Another scenario would be forming panels that are 12 inches wide, when panels measuring 1 inch high by 13 inches wide or 1-1/2 inches high and 11-1/2 inches wide can be run from standard coil. If you insist on running 12-inch wide panels, you’re wasting three inches with 1-inch legs and an incredible 15 inches with 1-1/2 legs with a standard coil.
The same math can be applied when manufacturing Flat Lock Tiles. A fabricator can provide guidance to an architect or a client to find the most efficient sizing based on the aesthetic intent, budget, and material choice, making sure material usage is optimized.
